Introduction
This is a little documentation that will explain the image effects available in OS SHP Builder 3.2 and some of its future versions. Image effects are accessible at the Tools -> Effects menu.
Settings:
The settings are simple. Here's their description:
Range:
-> Current Frame
-> All frames
-> From... To...: From a determined frame to another. You'll see a box asking them to you.
Region:
-> Selected area: (using the selection tool)
-> Whole frame
Background:
-> Ignore #0: The pixels with colour #0 won't be counted when using neighbor red, green and blue values to find the new colour of the pixel.
-> Consider #0 as (0,0,0): The pixels with colour #0 will be read as black, even if it has a different colour in the current palette.
-> Write On Background: The program will treat the pixels with colour #0 like any other pixel.
Colour Settings:
-> Ignore Lighting: The program won't peak the colours #2 to #15 and #240 to #255 when playing with the effects. It's highly recommended if you use unittem.pal.
-> Red To Remmapable: Red colours from unittem.pal will be converted to the remappable ones.
// The peak colour control avoid the excessive ammount of purples, sky
// blues, yellows and other colours composed only with very high (255)
// and very low (0) intensity of colours. It affects effects based on
// sharpenning like buttonize, texturize and some of the miscelaneous.
Peak Colour Control:
-> Percentual correction: Red, green or blue that bypasses 255 or goes below 0 gets a percentage of intensity based on the highest value of red, green or blue of the pixel.
-> Avarage correction: Red, green or blue that bypasses 255 or goes below 0 gets the value between the current value and 255 or 0 of the pixel. This setting usually gets the best results and is recommended.
-> Remove Peak Colours: Red, green or blue that bypasses 255 or goes below 0 gets the original value of the pixel.
-> Disabled: Red, green or blue that bypasses 255 or goes below 0 gets 255 or 0 depending on the intensity. It generates very instable results, therefore, not recommended.
The types of effects:
- Conservative Smooth: Checks the neighbor pixels. If the intensity of the current pixel is smaller than them, it gets the smaller intensity. It's higher than the highest intensity of the neighbor pixels, it gets the highest.
- Mean: Sums all neighbors in a radius and divide them about the ammount of pixels. It creates a blur effect.
- Median: Gets all neighbors in a radius and re-order them in a list. Then, get the intensity from the center of the list. It also creates a blur effect, but it does less damage to the details than a mean.
- Sharp: Gets all neighbors in a radius and multiply each of them with a value set in a pre-defined MultiplyMatrix as long as the sum of all values from this multiply matrix is 1 in order to be ballanced. This effect valourizes the edges, however, it may get a lot of unstable values with intensities higher or lower than what your screen accepts. In order to reduce this kind of problem, OS SHP Builder counts with an exclusive technology called Peak Colour Control.
- Unsharp: Does a sharp and a mean at the same time avoiding problems with unstable values and still valourizing the edges.
- Arithmethics: Does mathematics calculus with every pixel ignoring the neighbors. Usually things like logarithms and power are used in these calculus.
The effects:
In order to show how each effect works, we've used the GDI Tech Center below:
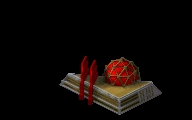
Conservative Smooth:
Type: Conservative Smooth
Radius: 1
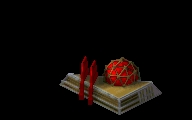
Mean Minimum (Cross):
Type: Mean
Radius: "0.5" (top, bottom, left and right neighbors only)
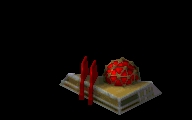
Mean 3x3:
Type: Mean
Radius: 1
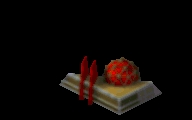
Mean 5x5:
Type: Mean
Radius: 2
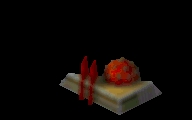
Mean 7x7:
Type: Mean
Radius: 3
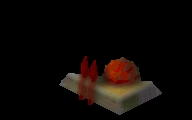
Median Minimum (Cross):
Type: Median
Radius: "0.5" (top, bottom, left and right neighbors only)
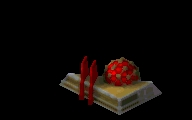
Median 3x3:
Type: Median
Radius: 1
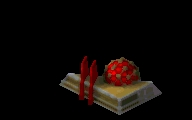
Median 5x5:
Type: Median
Radius: 2
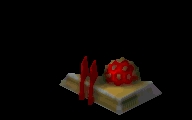
Median 7x7:
Type: Median
Radius: 3
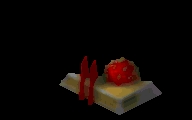
Unsharp Masking:
Type: Unsharp
Radius: 1
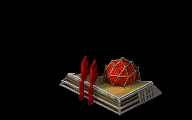
Sharpening Weak:
Type: Sharp
Radius: 1
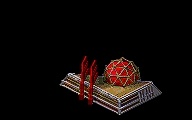
Sharpening Strong:
Type: Sharp
Radius: 1
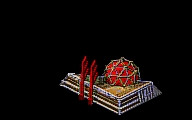
Exponentialize:
Type: Arithmetics
Radius: none
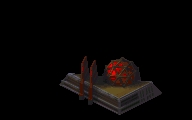
Logarithmize:
Type: Arithmetics
Radius: none
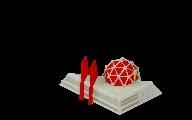
Logarithm Lighting:
Type: Arithmetics
Radius: none
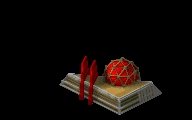
Buttonize Weak:
Type: Sharp
Radius: 2
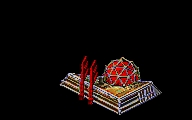
Buttonize Strong:
Type: Sharp
Radius: 3
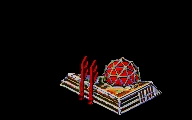
Buttonize Very Strong:
Type: Sharp
Radius: 3
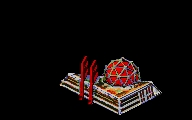
Basic Texturizer:
Type: Sharp (with few unsharp features)
Radius: 1
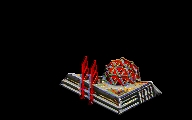
Iced Texturizer:
Type: Sharp (with few unsharp features)
Radius: 1
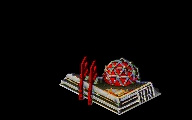
White Texturizer:
Type: Sharp (with few unsharp features)
Radius: 1
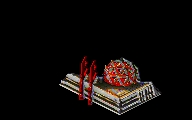
Petroglyph:
Type: Sharp (with few unsharp features)
Radius: 1
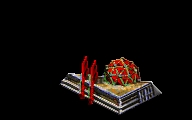
Stonify:
Type: Sharp (with few unsharp features)
Radius: 1
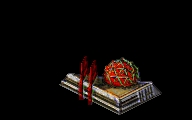
Rock It:
Type: Sharp (with few unsharp features)
Radius: 1
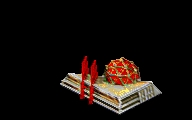
Mess It Up:
Type: Sharp
Radius: "0.5" (only the diagonal neighbors)
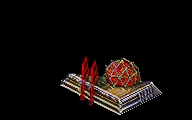
X-Depth:
Type: Sharp
Radius: 3
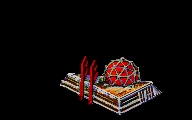
UnFocus:
Type: Sharp (with few unsharp features)
Radius: 1
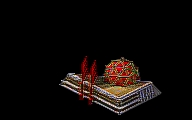
Underline:
Type: Sharp (with few unsharp features)
Radius: "0.5" (only left, right, top and bottom)
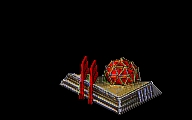
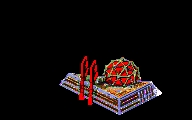
The pictures above were made with the default settings. Of course that if you change the settings a bit, you can get different results. Below we have a X-Depth effect with Write on Background and Disabled Peak Control.
That's all for now and I hope these effects become usefull to help to skin your stuff.


