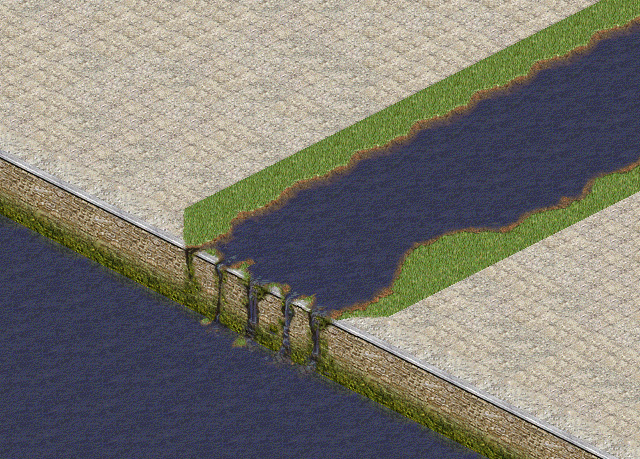
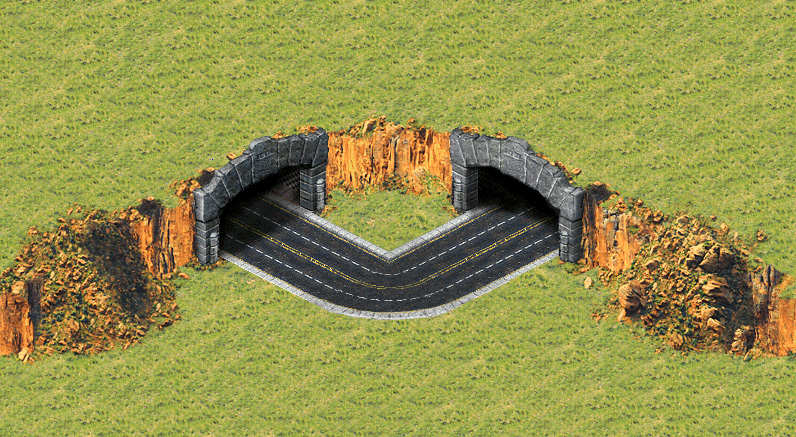
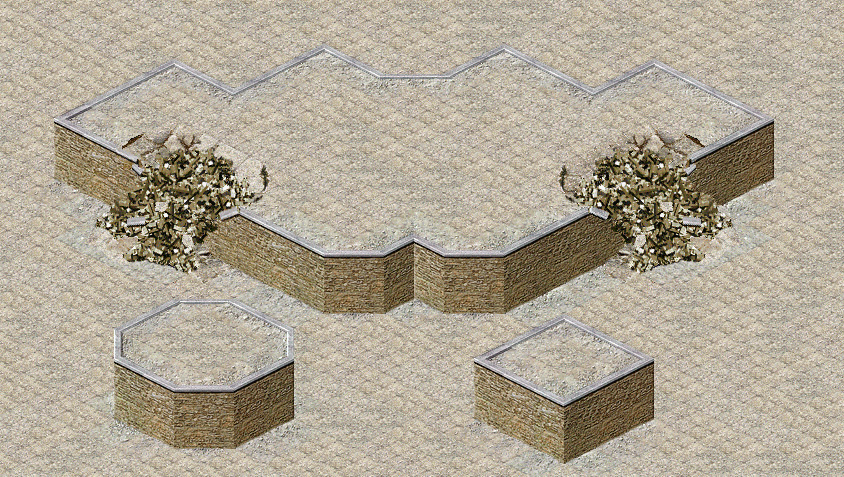
Cliffs tutorial:
[Required programs]
3ds Max (or any other 3d program)
Photoshop (or any other 2d program)
XCC Mixer
TMP Builder
TMP Editor 1.05 Unofficial version
OS Palette Editor
Part 1: Setting up
This tutorial covers up everything about making cliffs with 3ds max (or another 3d program) and how to finish them and put them into the game. I have a custom template for rendering modeled stuff where I just xref objects and render them with separate shadows. I'll tell you in the part 5 how you can make the same kind of a template as I have. One cell is 200x200 (x,y) in 3ds max units and cell height is 81,7 (z). All cliffs made by WW are 4 cells high (4*81,7=326,8). Note: some of the steps are optional, so you don't have to do them in the exact way I did.
Part 2: Modeling
At first create a plane (this is the cliff plane) with height 326,8 and width 200. Put some segments for width (4 to 8) and many segments for length (average 10). And then create two 200x200 planes and place one of them at the bottom front of the cliff plane and the second one on the top back of the cliff plane. Make sure that top vertexes of the cliff plane are at 326,8 (z) and bottom vertexes are at 0 (z) (you can do it easier if you turn cliff plane into editable poly/mesh with right mouse click while cliff plane selected).
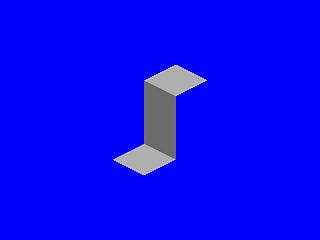
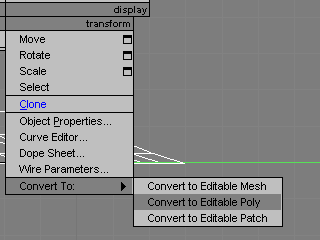
Now select all the top edges of the cliff plane and extrude them 3-5 times and move them over the top plane (from side view turn them into half round). Then select the bottom edges and move them upward and extrude them 2 to 4 times and turn them into a ramp-a-like. These extrudes are supposed to make cliff plane fit the top&bottom planes better.
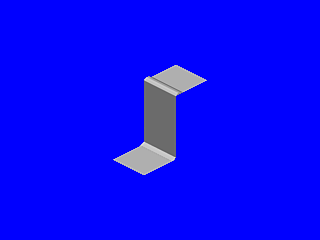
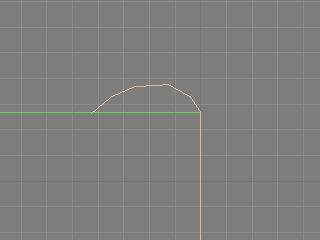
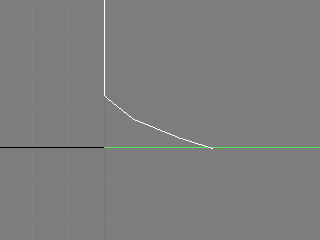
Now you can move vertexes of cliff plane anyhow you like. The most left&right vertexes must be left alone to make cliff tiles to match each other easier. Well, the way I chose is to move all the middle vertexes backward. Then I noticed it overlaps the top plane and leaves a huge hole behind the bottom plane. I added some segments (about 6) for the top plane and turned it into editable poly. Then I moved the vertexes of top plane so they won't overlap anymore. Note: remember to turn smoothing groups of the cliff plane off.
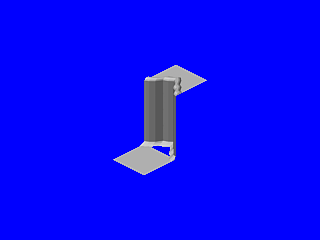
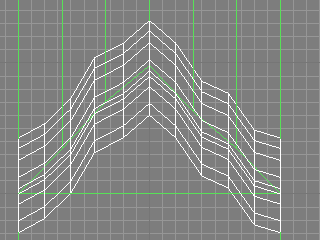
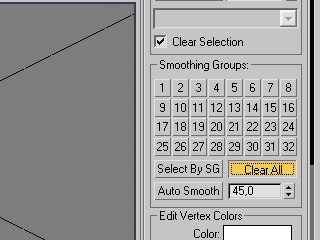
Now clone (right mouse click -> clone -> copy, not instance or reference!) the bottom plane and move it under the top plane. Also, make the vertexes of the cliff plane to look more random (you may also check how to add noise modifier into specific vertexes on part 3). If you want you can add some random "rocks" there and there (check part 3 for noise modifier). Segments: approximately 3.
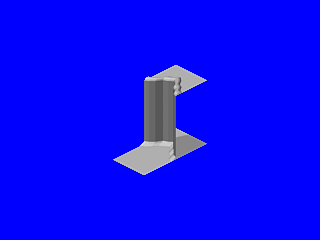

Modelings done, now jump into part 3.
Part 3: Modifiers
In this part we add some noise modifiers to the cliff (and for the "rocks" too) and UVW Map modifiers for all of the objects. The best way to noise modifier cliff plane is to do it three parts. First, select the middle vertexes and add new noise modifier with values: 50x50x50 (X,Y,Z) and Fractal checked. You can also try to change the seed. When you have done the values right mouse click the modifier in the list and click Collapse To and click Hold/Yes. If the cliff plane looks a it rude and ugly, you can chamfer some horizontal edges (select one horizontal edge and click loop for faster selection).

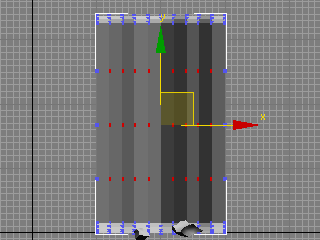
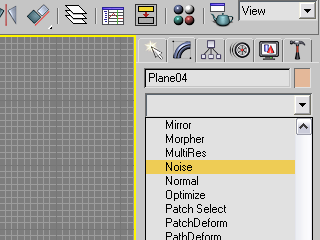
Now select the top middle vertexes and put noise modifier for them. Check what Z,X,Y -direction in noise modifier moves vertexes forward/backward and add value 25 to 75 for it. You can also put 25 to all directions if you like. Check Fractal and do the same as you did in the last step. Now repeat the same thing for the bottom vertexes.

Now select top&bottom planes (only those you have modified manually) and apply UVW Map Modifier for them and check Planar.
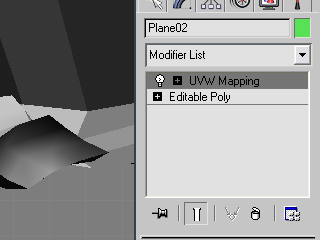
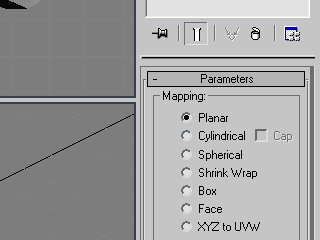
After this, select the cliff plane and apply UVW MAP Modifier for it too. This time select Box. Click the modifier to turn it into yellow. This allows you to scale the gizmo. Select Scale tool and turn the gizmo into a perfect box (cube). The gizmo must be as high as the cliff plane.
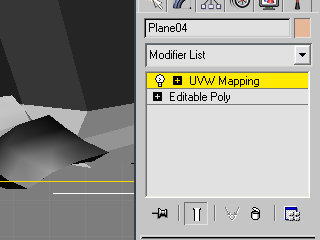
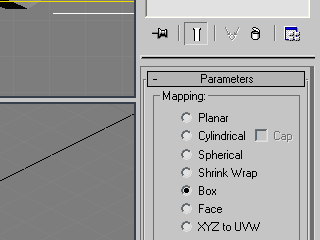
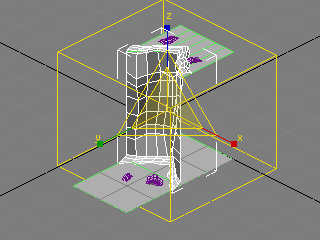
You can also apply UVW map for the "rocks". Next part, please.
Part 4: Texture
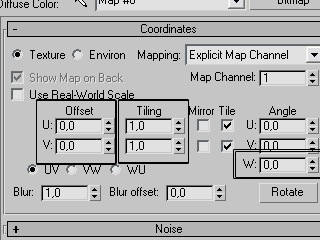
You can put anykind of texture you like for the cliff plane. You can also you that same texture for the "rocks". In 3ds max press key 'M' -> Select empty material -> Diffuse map: bitmap -> Choose a nice texture -> Select the cliff plane object -> Assign material. If texture seems to be too thick you can decrease value of Tiling or increase it if it looks too loose. To vary the texture increase/decrease the value of the Offset and the W-Angle.

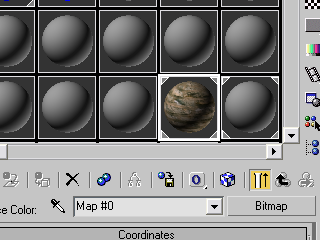
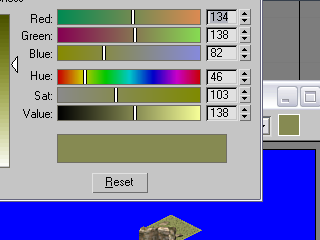
Right now I want some grass texture (that is similiar with RA2 urban grass) for top&bottom planes, so I decided to open XCC Mixer and find some urban grass tiles. Then I print screen it to PhotoShop where I find the three main colours of that tile (the brightest, the darkest and the one between those) with the Eyedropper tool. It seems to be that mid is 137,137,85 , the brightest: 145,165,85 and the darkest: 40,52,16.
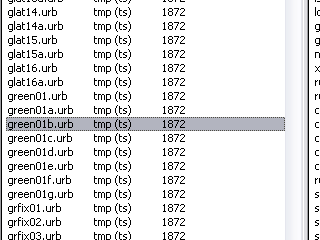
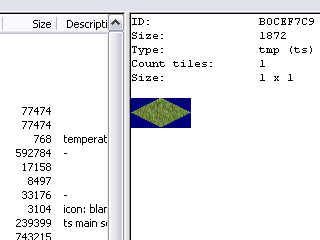
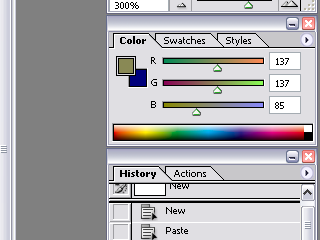
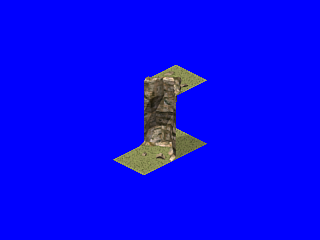
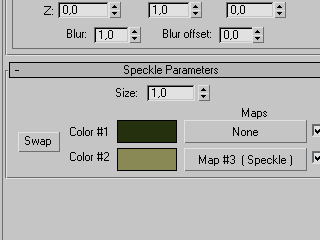
Now I took a new material and chose Diffuse map: Speckle (I suppose that other 3d programs doesn't have this kind of a map). Then I changed the black colour into grass' darkset colour and assigned second Speckle map for the white. For the second speckle map I changed the black colour into grass' brightest colour and white into grass' mid colour. I also turn both speckle sizes to value 5,0 and turned the second speckle's Z-angle into value 45,0. There was a thing I couldn't avoid noticing; when rendering the cliff using the template, speckle colours' brightness were about 2-3% higher than they supposed to be. Fixed this by changing both the darkest and the mid brightness down a bit (left the brightest colour alone, but it can be a bit brighter). Note: in these images I haven't fixed the colours perfectly:
Now rendering stuff...
Part 5: Rendering
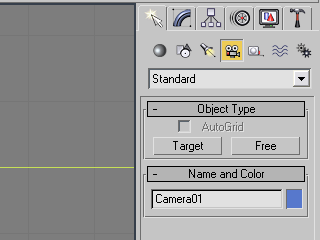
As I told, one cell (both RA2 and TS) in my template is 200x200 (3dsmax) units. Now I tell you how to make same kind of a template I have. At first, make a plane with size 8500x8500 and move it into coords 0,0,0 (x,y,z). Make sure it doesn't have any segments. Now create a target camera and put coords 11003,891,-11003,891,8984,671 (x,y,z) for it and make sure that the target point is at coords 0,0,0. Note: this template doesn't have exact RA2/TS lightings, but they're enough good for me...
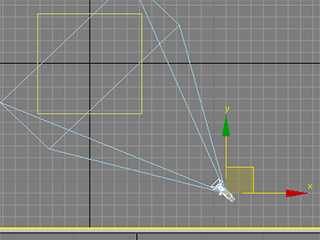
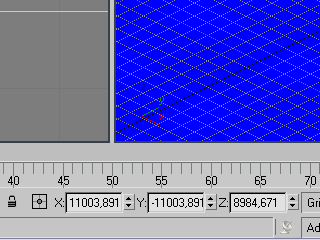
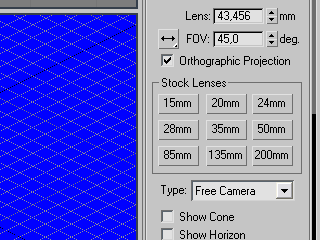
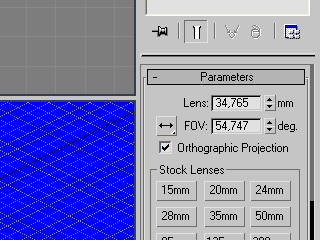
Now make sure that the camera's lens is 43,456 and Orthographic projection is ON. Also, change the camera type to free camera. For TS camera setting turn lens value to 34,765. Just in case, check that target distance is 3596,9.
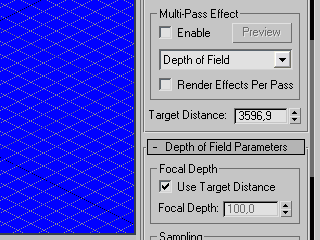
Now let's put some lighting. Create two IES Sun lights. First one's position for RA2/YR: -14302,817,-34054,277,49153,375 and for TS: -1793,007,-36892,414,49153,367. Second one's position for RA2/YR: 26216,645,-26018,301,49153,375 and for TS: 51340,516,-4295,351,33556,23. Remember to put targets' coords to 0,0,0!
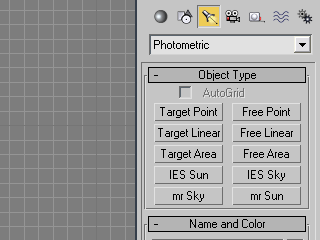
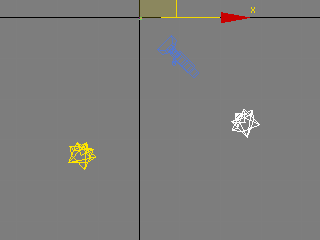
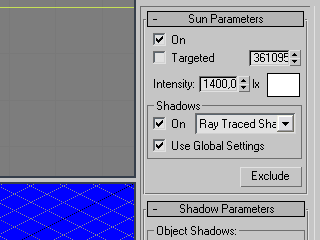
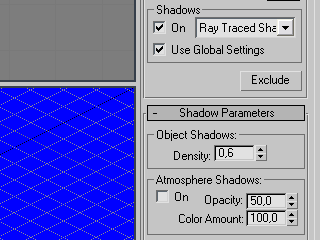
Now modify sun parameters. You can turn off Targeted parameter. For Sun01 turn Shadows ON and select Ray Traced Shadows from the list. Let's edit Intensity: RA2/YR: Sun01: 900 and Sun02: 1400. TS: Sun01: 1400 and Sun02: 800. After this we'll edit Object Shadow Density: Sun01: 0,6 and Sun02: 0,5.
Part 6: 2D editing
Part 7: Playing TMPs
Hints:
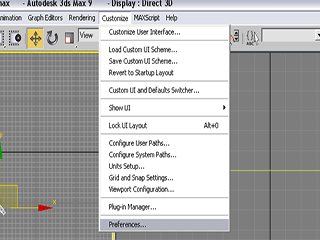
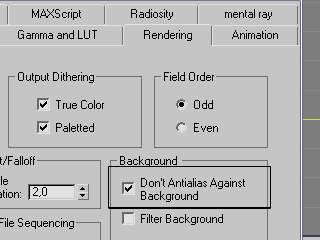
1. You could also use the template to render buildings for TS/RA2. Just turn off the background antialiasing.
Credits:
DonutArnold
IcySon55 (for helping me so many times)
Gangster (for getting right lighting positions for TS)


